Unlock the Secrets to Perfect Neapolitan Pizza Dough (and Impress Your Friends!)
Ever stood in your kitchen dreaming of real Italian pizza? Yeah, we have too.
You know, the kind with the puffy, slightly charred crust that’s somehow both crispy and chewy.
Well, making that dream pizza at home is not so tough, maybe.
It all starts with the dough.
Getting the dough just right can seem tricky. Most folks give up before they really get going, you know?
Well, worry not!
This guide will show you how to make Neapolitan pizza dough that’s just like what you’d get in Naples. Let’s get you that perfect pizza.
What Makes Neapolitan Pizza Unique?
Neapolitan pizza stands out. It just does.
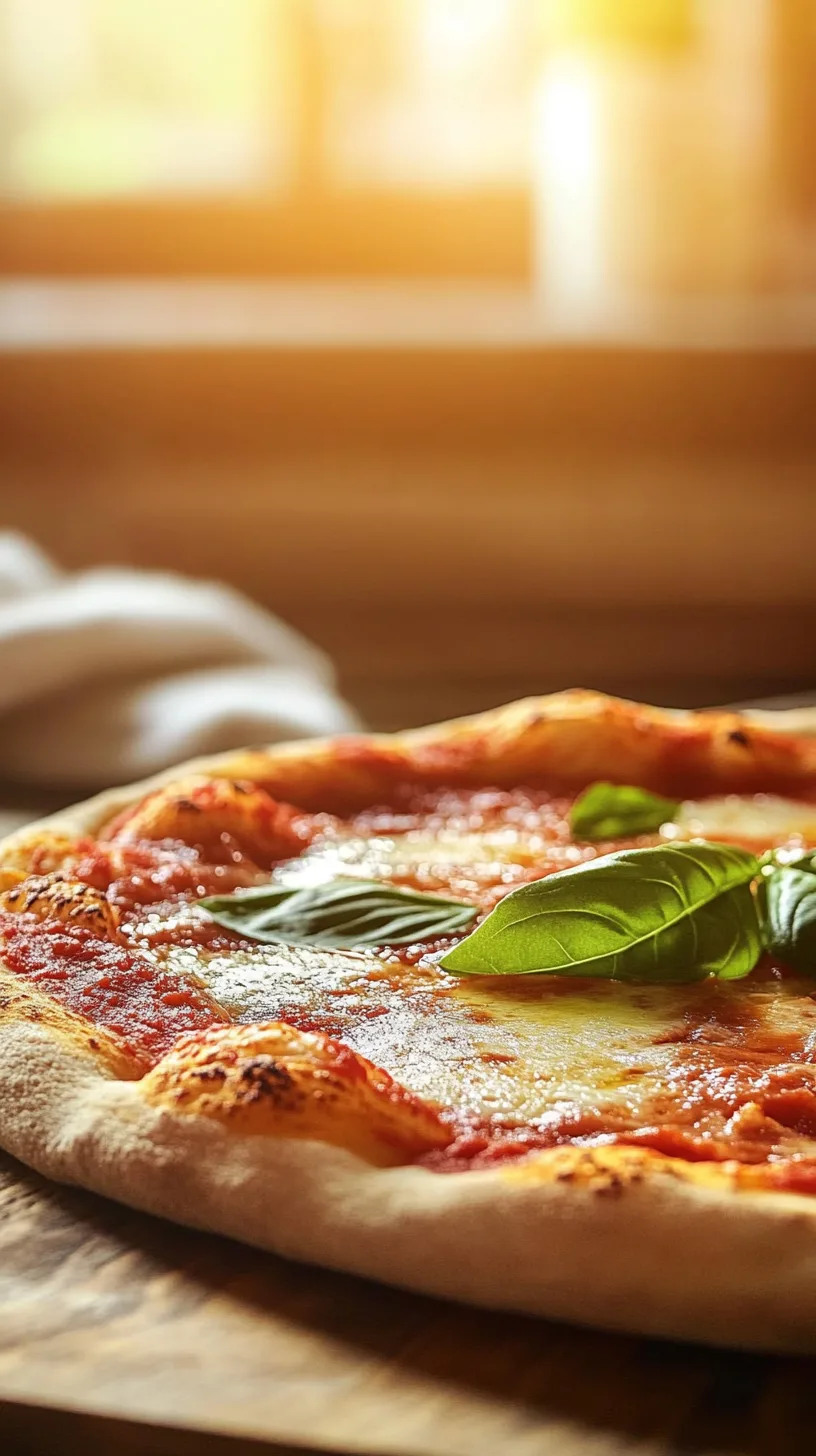
This pizza has a thin base with a puffy, airy crust, known as the cornicione.
It gets cooked super fast in a blazing hot oven. This method gives it those signature leopard spots, little charred bits that add so much flavor.
Real Neapolitan pizza uses a few fresh ingredients. It is also a protected food. This means it follows strict rules about how it’s made.
The Associazione Verace Pizza Napoletana (AVPN) sets these rules.
They make sure the pizza stays true to its roots.
When you bite into a Neapolitan pizza, you’re tasting a piece of culinary history.
If you’re interested in exploring other traditional Italian flavors, check out our Spaghetti Aglio e Olio recipe
Essential Ingredients for Authentic Neapolitan Pizza Dough
Let’s talk about what goes into this amazing dough. Each ingredient plays a big role in making that authentic Neapolitan pizzas.
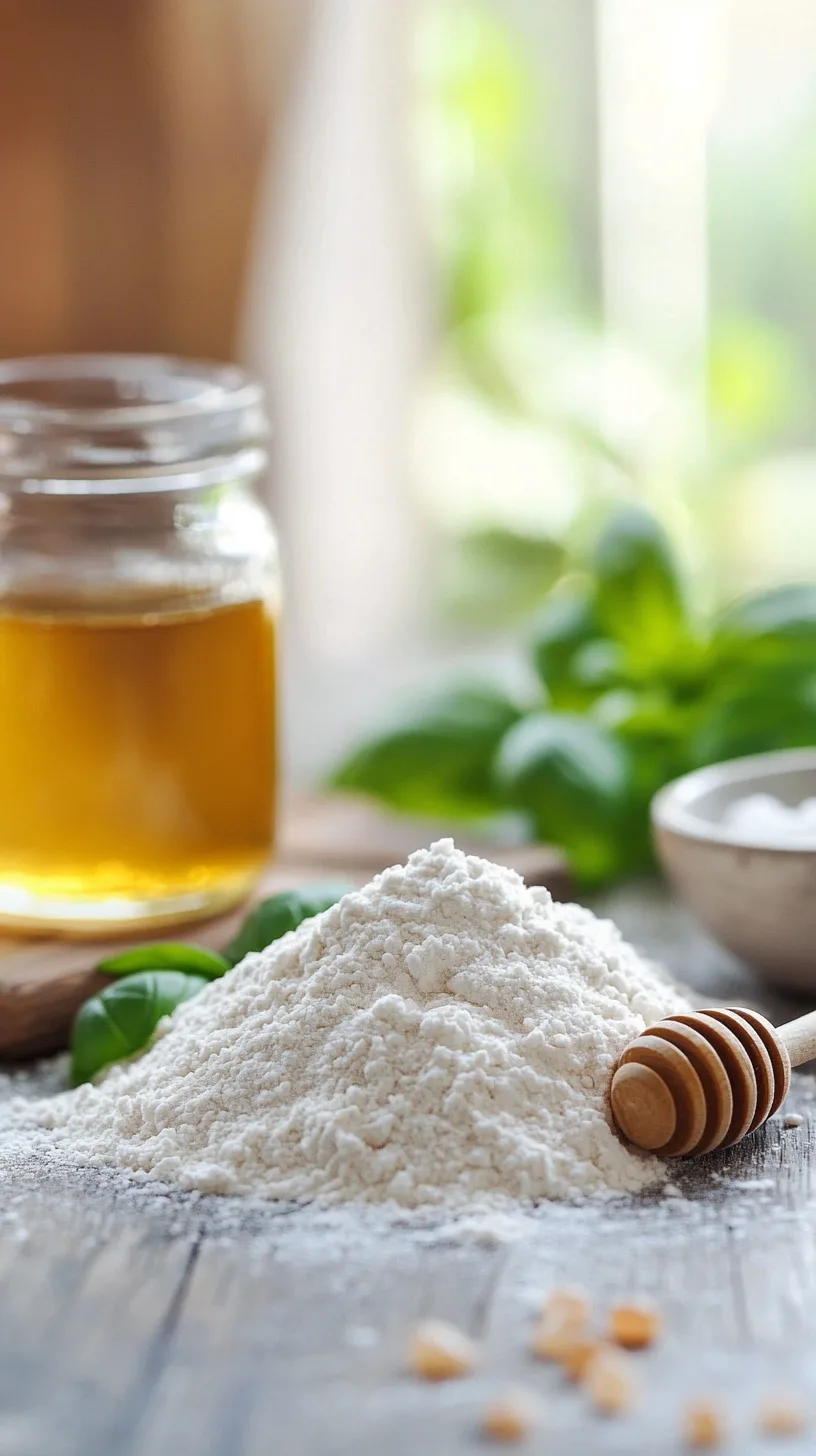
- 00 Flour: This finely ground Italian flour is the heart and soul, honestly, of our dough. It has a high protein content, essential for creating a strong yet tender dough structure. It is known as the best of the best. 00 flour creates a silky texture. This makes the dough easy to stretch without tearing. Its super fine texture is a main reason the dough comes out so good.
- Water: Hydration is key in any dough recipe. For Neapolitan pizza dough, water content is important, man. It gives our dough the right moisture, making it pliable and easy to work. Water temperature is also a factor. It affects how the yeast behaves. Aim for lukewarm water, around 80-85°F. This helps activate the yeast.
- Yeast: This little guy is what makes our dough rise and come alive. We need just a tiny amount. Neapolitan pizza dough uses less yeast than other doughs. Active dry yeast or fresh yeast work. We prefer active dry for its convenience and consistency. This slow fermentation develops the flavor we crave.
- Salt: It’s not just for taste. Salt controls the yeast’s activity and strengthens the dough’s gluten structure. Fine sea salt is the way to go. It dissolves easily. It distributes evenly through the dough, ensuring uniform flavor and texture.
- Honey (Our Secret Touch): A teaspoon of honey is our little secret. This little guy is not used everywhere. Honey feeds the yeast, helping it work its magic during the long fermentation. It also aids in browning, giving our crust that beautiful golden hue.
Understanding the role of precise measurements is crucial in achieving the perfect dough. Learn more in our guide on How to Measure Baking Ingredients
Step-by-Step Guide to Making Neapolitan Pizza Dough
Alright, let’s roll up our sleeves and get our hands dirty. Making this dough is a simple process. It needs a bit of patience. The following steps are fun. They require only a little bit of attention.
First, we mix the water and honey in a big bowl. Make sure the honey is all dissolved, okay? Then, sprinkle the yeast over the top and let it sit for about five or ten minutes. We want it to get foamy. After that, we start adding about half of the flour. Mix it with your hand or a spoon. Keep mixing until it starts to come together.
Next, we mix the salt with the rest of the flour. We then add this to the dough a little bit at a time. Now it is time to knead. We can use a mixer with a dough hook for about 8-10 minutes, or we can knead by hand on a floured counter for 15-20 minutes. We’re looking for a smooth, elastic dough.
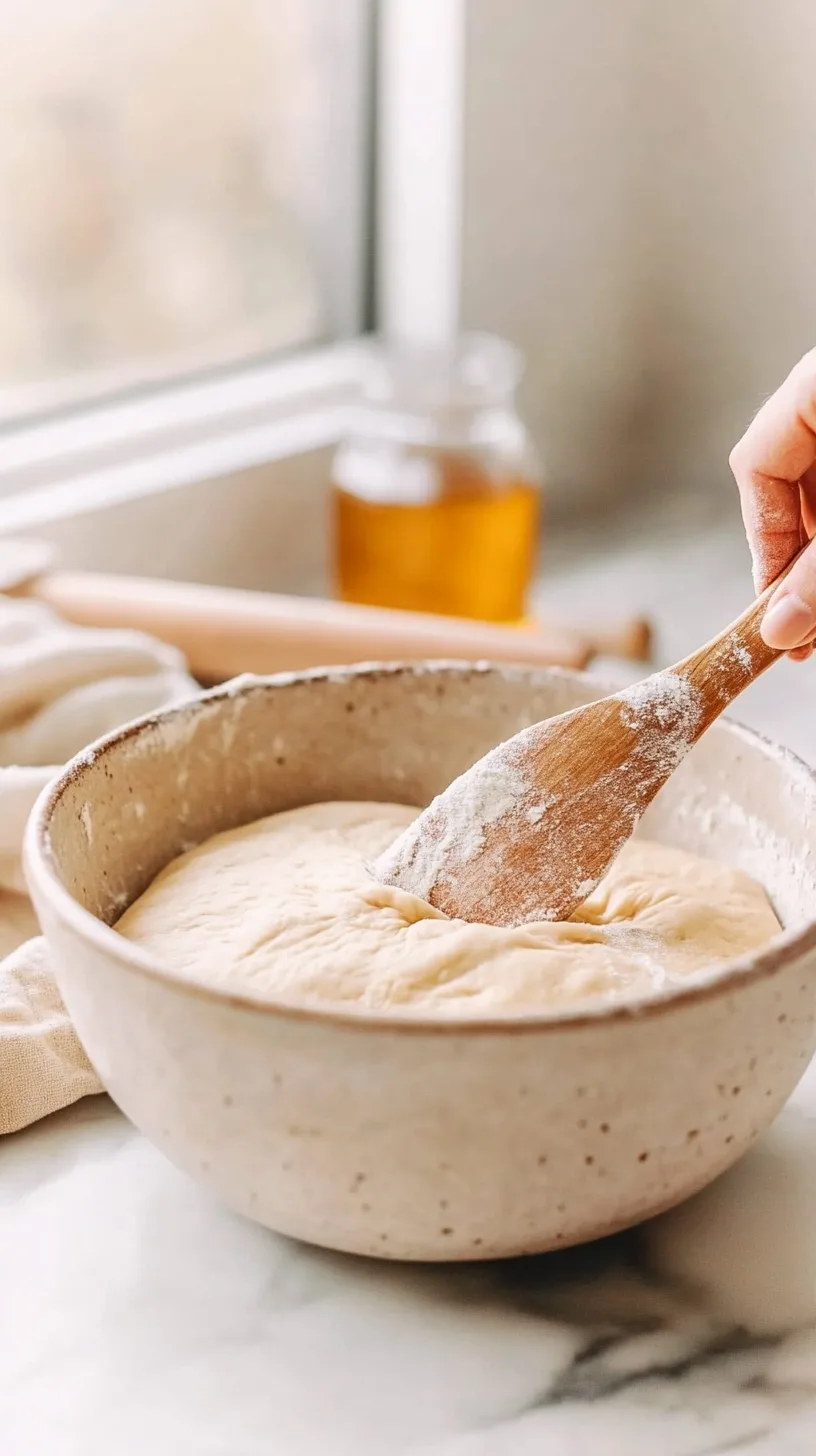
Time for the first rise. We put the dough in a lightly oiled bowl, cover it, and let it double in size at room temperature. This takes about two hours, you know. For an even better flavor, we can let it sit in the fridge for up to two whole days. It is true.
After the first rise, we gently turn the dough out and divide it into four pieces. We shape each piece into a ball. Now, these dough balls need to rest again. They sit covered for another 2-4 hours until they’re puffy. Now they are ready for action!
Mastering dough preparation is a rewarding skill. For more tips, check out our article on Bread Baking Glossary
Mastering the Art of Kneading for a Perfect Dough
Kneading is where the magic really happens. This step develops the gluten.
The dough gets its structure and elasticity.
Getting the gluten right makes our dough nice and chewy.
If you’re using a stand mixer, let it run on low with the dough hook.
Watch the dough transform into a smooth ball. When doing it by hand, it’s a bit more work but worth it.
Turn the dough out onto a lightly floured surface. Fold, push, turn, repeat.
It’s like a doughy dance!
It is easy to get the hang of.
Keep going until the dough feels smooth and a little tacky.
This usually takes about 15-20 minutes of good, old-fashioned elbow grease.
The Importance of Proofing Your Dough
Proofing, or fermentation, is where our dough develops its personality. This is when the yeast really gets to work. It eats sugars and releases gases. These gases make the dough rise.
They create those airy pockets we love. After the initial mix and knead, the dough needs its first long rest.
A slow, cool rise lets the flavors develop gradually. This is where you develop all the flavor. It makes the crust taste amazing. After shaping the dough into balls, they need another rest.
This second proofing lets them puff up. It ensures they’re light when baked. Just don’t let them overproof. They’ll lose their structure.
Shaping Your Dough Like a Pizzaiolo
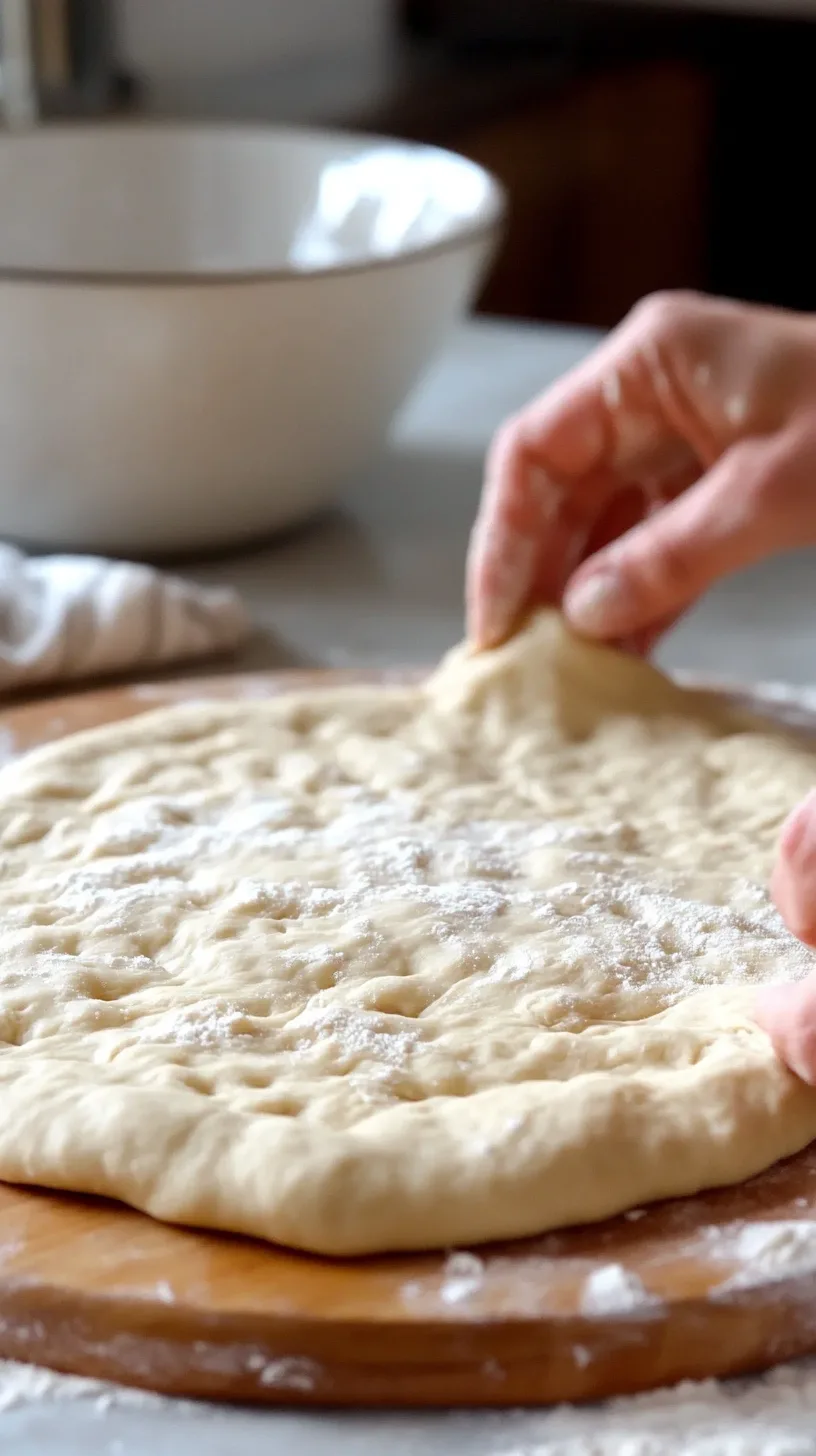
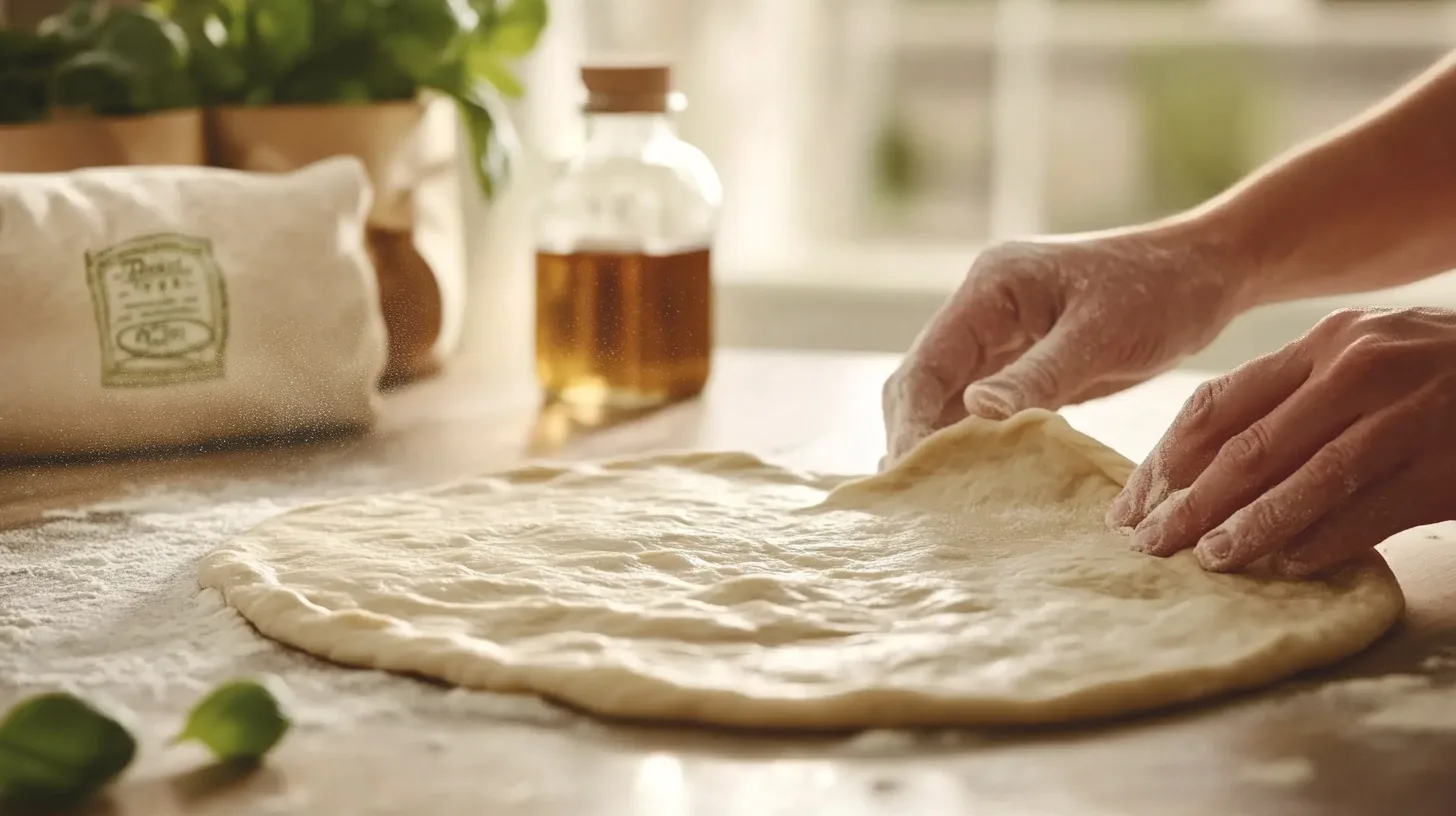
Shaping Neapolitan pizza dough is an art. It should not be difficult. We’re not rolling it out with a pin. We want to keep those air bubbles intact. Start by gently pressing the dough ball into a flat disc.
Use your fingers to push from the center outward. Work your way around, leaving a slightly thicker edge for the cornicione. Gently stretch the pizza dough to about 10-12 inches. It should be thin but not see-through. If it tears, don’t freak out. Just pinch it back together. This is your pizza.
Achieving the perfect crust requires finesse. If you’re curious about similar techniques, explore our Lemon Pesto Pasta Recipe
Achieving the Perfect Bake – Oven and Stone Tips
High heat is our friend when baking Neapolitan pizza. In Naples, they use wood-fired ovens that reach 900°F. At home, we crank our ovens as high as they go, usually around 500-550°F.
A pizza stone or baking steel is a game-changer. They hold and distribute heat evenly. They also give us that crispy bottom crust.
Preheat your stone or steel for a solid hour before baking. This makes a huge difference. When it’s time to bake, slide your pizza onto the hot stone using a pizza peel.
It’ll only take a few minutes to cook, maybe 5-7. Keep an eye on it. We want a charred crust and bubbly cheese. We do not want a burnt mess, you know?
Troubleshooting Common Dough Issues
Sometimes things go sideways.
Don’t get discouraged.
Dough too sticky? Add a little more flour. It is not rocket science.
It is too tough? You might have overworked it. Next time, knead less.
Not rising? Your yeast might be dead, or the room might be too cold.
If the dough keeps shrinking back when you shape it, let it rest a bit longer. The gluten needs to relax.
These little tweaks can make a big difference. It is okay to learn by doing. Every mistake is a lesson learned, seriously.
If your dough isn’t cooperating, precision might be the missing link. Check out our guide on Volume vs. Weight in Cooking
Elevating Your Pizza Game: Pro Tips from Naples
Want to really impress? Try a cold ferment. After the first rise, pop the dough in the fridge for 24-48 hours.
Cold fermentation adds depth to the flavor. It makes your crust taste even better. Also, use really good ingredients.
San Marzano tomatoes, fresh mozzarella di bufala, a drizzle of quality olive oil. These make a huge difference. And don’t overload your pizza with toppings. Less is more when it comes to Neapolitan pizza. Each ingredient should shine. This is not stuffed-crust deep-dish pizza.
Elevate your pizza night further with the perfect pairing. Try our Tuscan White Bean Soup
Authentic Neapolitan Pizza Dough Recipe
Print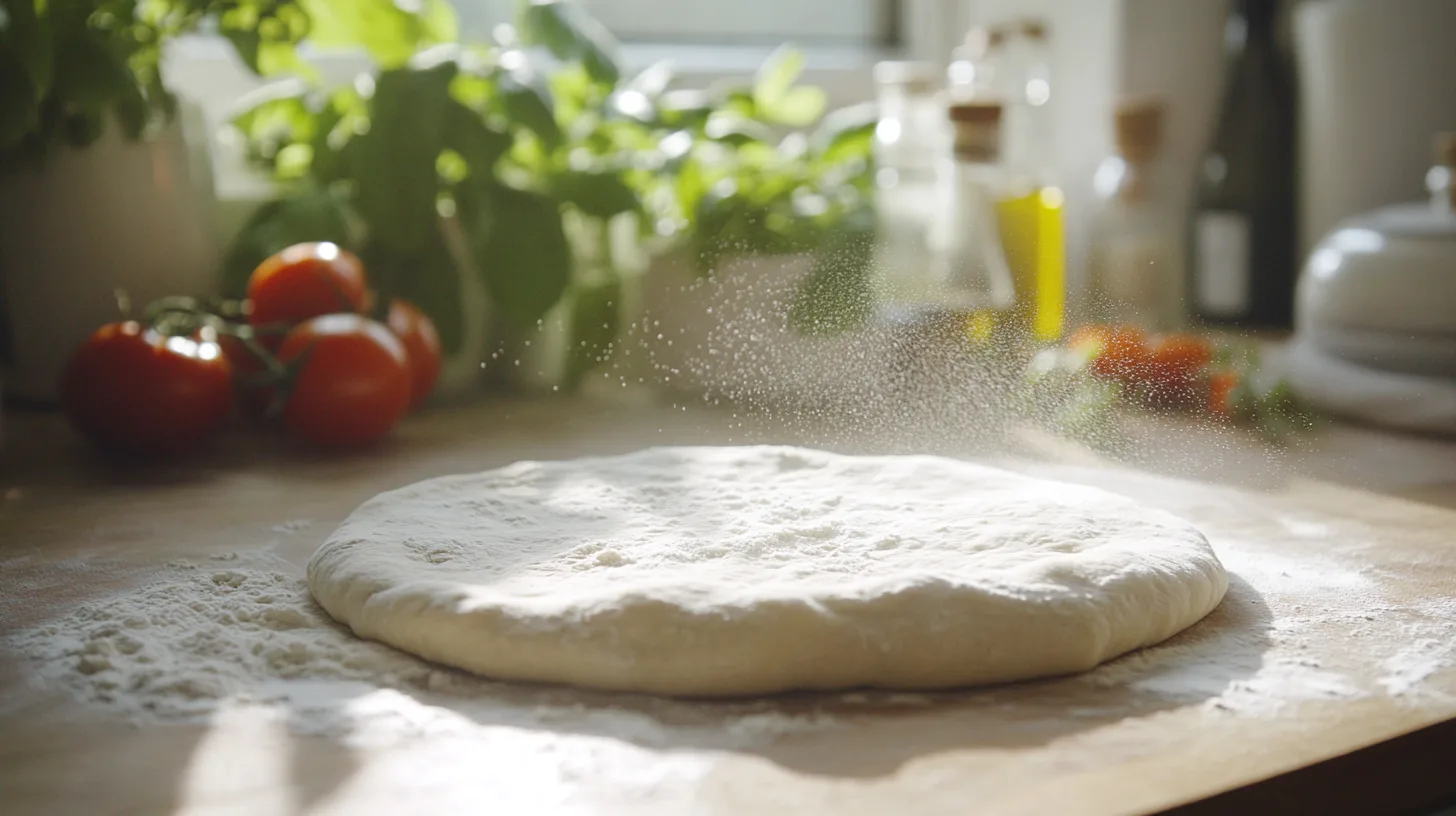
Neapolitan Pizza Dough Recipe
- Prep Time: 20 minutes
- Inactive: 12-24 hours
- Cook Time: 10-12 minutes
- Total Time: 24 hours 30 minutes
- Yield: 2 12-inch pizzas 1x
- Category: Main Course
- Method: Baking
- Cuisine: Italian
- Diet: Vegan
Description
Experience the taste of Naples in your own kitchen! This recipe guides you through crafting authentic Neapolitan pizza dough, the foundation for a truly exceptional pizza. With a little patience and the right techniques, you’ll be amazed at the delicious results.
Equipment:
- Large mixing bowl
- Kitchen scale (highly recommended)
- Plastic wrap or a damp kitchen towel
- Pizza stone or baking steel (optional, but highly recommended)
- Pizza peel (if using a pizza stone or baking steel)
Ingredients
- 500g (4 cups) Caputo 00 Flour (or other high-quality 00 flour), plus extra for dusting
- 325g (1 1/3 cups) lukewarm water (about 80-85°F / 27-29°C)
- 10g (2 teaspoons) fine sea salt
- 1g (approx. 1/4 teaspoon) active dry yeast
- 5g (1 teaspoon) honey
Instructions
- Activate the Yeast:
- In a large mixing bowl, combine the lukewarm water and honey. Stir until the honey is completely dissolved. Sprinkle the active dry yeast over the surface. Let it sit for 5-10 minutes, or until the yeast is foamy.
- Add the Flour:
- Gradually add about half of the flour to the yeast mixture. Using your hand or a dough whisk, mix until a shaggy dough begins to form.
- Incorporate the Salt:
- Add the salt to the remaining flour and then slowly add this mixture to the dough, a little at a time. Continue mixing until all the flour is incorporated and a rough dough forms.
- Knead the Dough:
- If using a stand mixer, attach the dough hook and knead on low speed for 8-10 minutes. If kneading by hand, turn the dough out onto a lightly floured surface and knead vigorously for 15-20 minutes. The dough is ready when it’s smooth, elastic, and slightly tacky.
- First Rise (Bulk Fermentation):
- Lightly oil the mixing bowl. Place the dough ball in the bowl, turning to coat it with oil. Cover the bowl tightly with plastic wrap. Let it rise at room temperature (around 70-75°F / 21-24°C) for 2 hours, or until doubled in size. Alternatively, for enhanced flavor, cold ferment in the refrigerator for 24 hours, and up to 48 hours.
- Divide and Shape:
- Gently turn the dough out onto a lightly floured surface. Divide it into 4 equal pieces (about 250-280g each). Shape each piece into a smooth ball by gently stretching the top of the dough and tucking it underneath.
- Second Rise (Proofing):
- Place the dough balls on a lightly floured surface or in individual airtight containers, leaving enough space between them. Cover them loosely with plastic wrap or a damp kitchen towel. Let them rise at room temperature for another 2-4 hours, or until puffy and airy.
- Time to Make Pizza:
- Now you’re ready to shape the dough, add your favorite toppings, and bake your pizzas! Remember, Neapolitan pizzas are best baked at extremely high heat.
Notes
- The Secret Ingredient: A touch of honey is added to this recipe. It’s not traditionally found in all Neapolitan dough recipes, but it helps to feed the yeast during the long fermentation period, resulting in a slightly more complex flavor profile. It also aids in browning during the bake. (Please note: The honey is not authentic traditional)
- Flour Power: Using high-quality 00 flour is crucial for achieving the right texture and flavor.
- Water Temperature: Pay close attention to the water temperature, as it affects yeast activity.
- Kneading is Key: Proper kneading develops the gluten, which gives the dough its structure and elasticity.
- Cold Fermentation: If you have the time, cold fermentation in the refrigerator is highly recommended for developing a deeper flavor.
- High Heat Baking: Neapolitan pizzas are traditionally baked in wood-fired ovens at extremely high temperatures. If using a home oven, preheat your pizza stone or baking steel to the highest possible temperature for at least an hour.
Nutrition
- Serving Size: 1 slice
- Calories: Approximately 450
- Sodium: 900mg
- Fat: 2g
- Carbohydrates: 90g
- Protein: 15g
Nutritional Insights
Each serving of this dough (one pizza) has around 450 calories.
Most of that comes from carbohydrates, about 90 grams.
There’s around 15 grams of protein. That is not bad. Fat is pretty low, about 2 grams. Sodium sits around 900 milligrams.
Remember, these numbers are just for the dough. Toppings will change the nutritional profile. Cheese, meats, and veggies all add their own counts. This dough is a good base, though. It is relatively low in fat and has a decent amount of protein.
We hope this guide helps you make the Neapolitan pizza of your dreams. It might seem like a lot at first. Once you get the hang of it, it’s really rewarding. Making this pizza is fun, you know? Get the family involved. Make it a pizza party!
Ingredient Alternatives
Hard time finding 00 flour? Bread flour is your next best bet. It has a higher protein content than all-purpose. Fresh yeast is great if you can get it. Use about 9 grams for this recipe if using fresh. No fine sea salt? Regular salt works. Just use a bit less, as it’s more concentrated.
And if you’re out of honey, a pinch of sugar can help the yeast along. But honestly, honey adds a special something. Try to use it if you can. These little substitutions won’t ruin your pizza crust.
Frequently Asked Questions About Neapolitan Pizza Dough
You can, but 00 flour really is better for that authentic texture. All-purpose will work in a pinch, but the result won’t be quite the same.
Sprinkle in a bit more flour, a tablespoon at a time. Knead until it’s incorporated. Don’t add too much, though. We want a soft dough.
You can keep it in the fridge for up to 48 hours. Any longer, and it might over-ferment.
Sure! After the first rise, divide it into balls, wrap them tightly, and freeze. Thaw them in the fridge overnight before using.
Your oven might not be hot enough. Make sure your pizza stone is fully preheated. The dough might also be too thick.
Absolutely! Kneading by hand works great. It just takes a bit more time and effort.
A hot skillet works wonders. It crisps up the crust nicely. You can also use a toaster oven or your regular oven.
The Final Bite – From Flour to Feast
So there you have it! You’re now well on your way to becoming a Neapolitan pizza master. Remember, the journey is just as important as the destination. Embrace the process, experiment with different techniques, and most importantly, have fun!
Now, fire up that oven and get ready to experience the pure joy of biting into a slice of pizza you created with your own two hands. That crispy, slightly charred crust, the tangy sauce, the melty cheese… it’s a symphony of flavors that will transport you straight to Naples. Buon appetito!
About the Author
Ryan Yates is a culinary expert with over 20 years of experience in commercial kitchens. As a working executive chef, he has a passion for creating delicious, accessible recipes that bring joy to home cooks everywhere. Ryan believes in the magic of simple ingredients and loves sharing his knowledge to help others find happiness in cooking.